What do you see? Obstacles and Goals

Joseph Cossman, the well-known entrepreneur, is quoted as saying, “Obstacles are things a person sees when he takes his eyes off his goal”. That’s worthy of being embroidered and hung over your harp.

And this point couldn’t be more true than when you have heard a beautiful piece of music that you desperately want to play….and then you see the sheet music. Few things are more disheartening than that initial visual assault of the dots. All those pages! All that ink! All those notes! All at the same time! Chords and ornaments and complex rhythms – who has that many fingers?!?

I always tell my students that there is nothing they cannot play. There may be a wide gulf between where they are just now and the skills a particular piece requires – but that just means that the path to playing that piece lies in not being afraid of a little hard work. It also means that it might take some time to master the music, but – there is nothing you cannot play*.

Clearly, the music is playable (remember – you heard it!). So, the real challenge is to focus on the music. And to stop staring at the obstacles.  Keep an eye on the goal – see past the dots. 
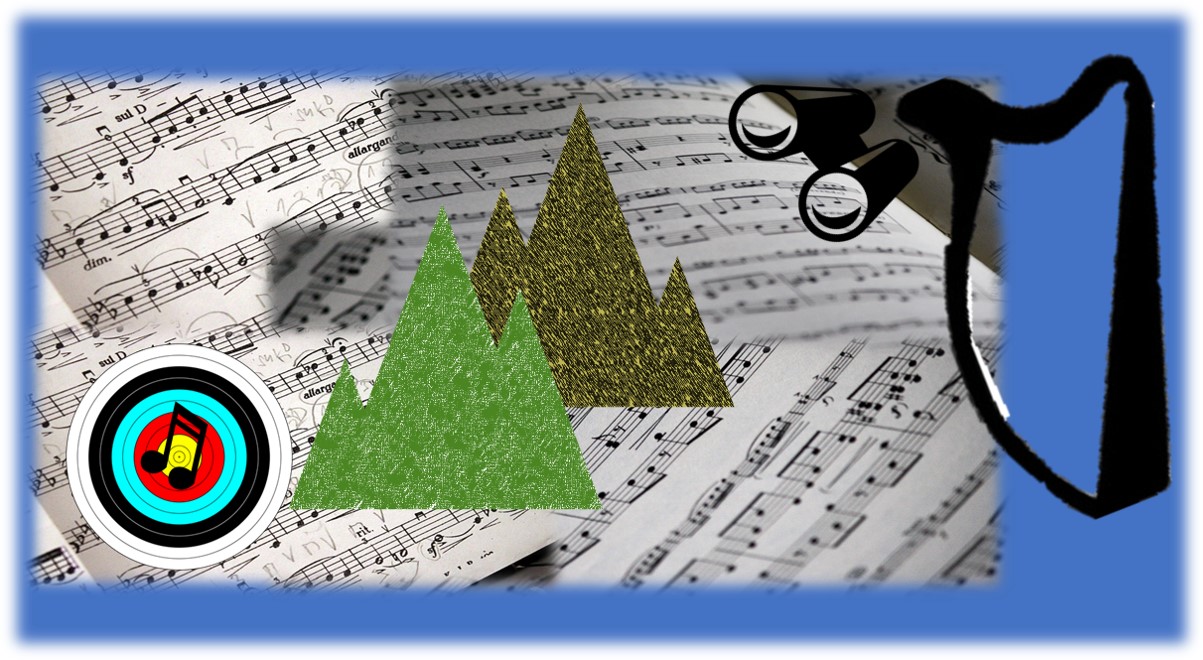
What are the obstacles, typically? And how do you see past them? Here are some that are reliably likely to trip you up:

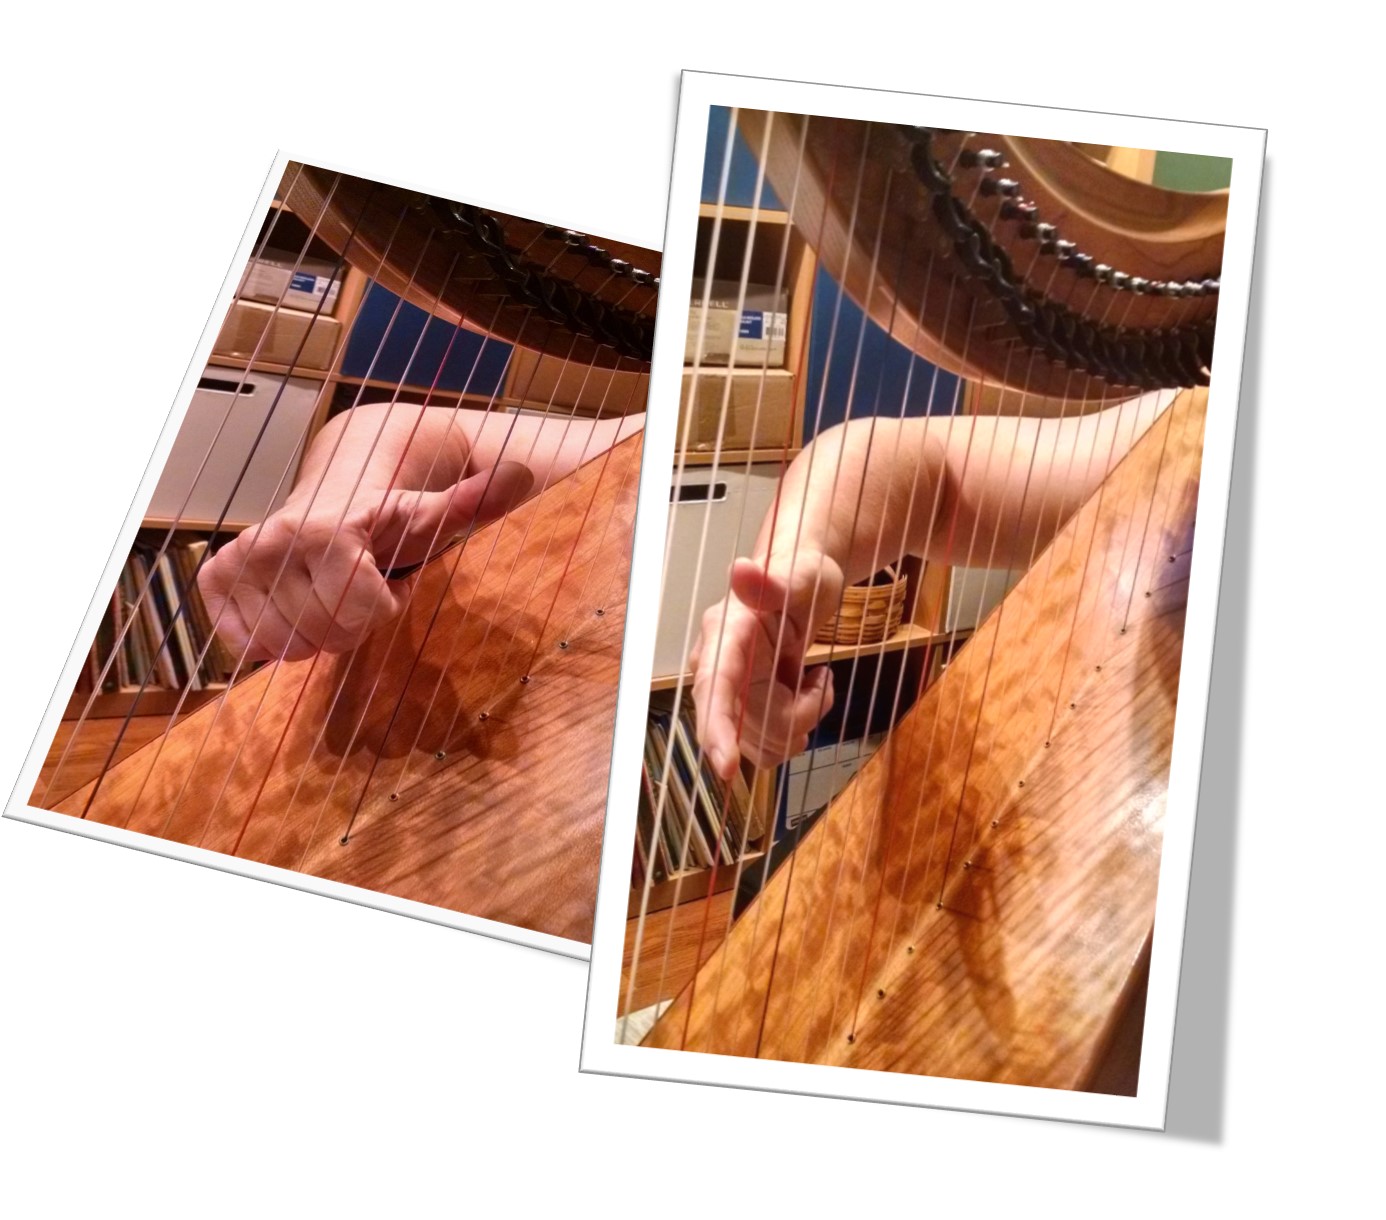
  1. Poor, or as-yet-undeveloped technique. When you hear lush beauty, it is backed by strong, solid, developed and practiced technique. Always be working on your technique including learning things you haven’t had to use before. For example, if you’re self-taught or just haven’t gotten there yet – do you know how to do a glissando correctly? Always be on the lookout for things you haven’t learned how to accomplish properly and include them in your overall practice plan.
  2. Lack of practice reading. If you are not a strong reader, even looking at relatively simple music notation can be intimidating. And looking at a complex piece of music (whether it has a complex rhythm, a lot of big chords, or notation that’s new to you) can really throw you. Reading, like every other aspect of playing, requires practice. Identify music that you can read with some effort, and practice. Work and time will get you to that place where you are comfortable identifying the notes and their names, the intervals by their locations, and repeated patterns used throughout the piece. If you need it – do some flashcards time.  Learn and practice analyzing the page and you will get better at it – and that will make it come more easily too.
  3. Not making the time to get the music. If you are growing into a piece of music – you need to give yourself time. Time to analyze, to work, to practice, to become comfortable with the music and the playing of it. If you are working on a stretch piece – or if you have identified a long-range goal, be sure to give yourself the time you need to do the work, including any things you have to learn to master the piece. If you are a relatively new harper, there may be a large number of things you need to learn – and that’s ok – as long as you give yourself the time to learn all of them!

There are other obstacles, but for now, keep your eye on your goal. Don’t lose sight of the path. Give yourself permission to divert and learn. And periodically you can return to the piece. And make sure you know what you can see.

* don’t be obtuse – of course there are arrangements that may not fit on your harp, but assuming the arrangement is appropriate to your harp (that is, if there’s pedal markings and a lot of accidentals, you might want to pass on trying to play it on your lever harp – but even then, if you’re really up for a challenge, you go ahead and give it a try!).

Technical Ecstasy

I’m sure that your teacher has exhorted you to work on your technique. I have too. And hopefully, you too, urge yourself to work on developing, strengthening, and enhancing your technique.

I know I have, on many occasions over the last few years (ok, way more than a few). And we all know that technique is central to playing. It is essential to growing and developing as a player. And while you might see a brilliant musician play with less than exemplary technique, those tend to be rarer than not. While you might aspire to play like that person – you could just smarten up your technique – so you don’t have to work so hard to pull it off!

So, I’m sure we are agreed – Technique is important!

Technique is important – but you have to watch carefully that you make music!

Technique is important – but you have to watch carefully that you make music!

I’m not going to debate that.

However….

Technique is not where we make music!

W – H – A – T?!?!?

You read that right – and I mean it! Technique is not where you make music. Technique is the hard work you do so that your ability to play becomes effortless. It is a tool – a means to an end.

I once saw a video of a cellist making an A440*. There he sat, tuner on the floor just below the cello, playing an A over and over – watching the needle on the tuner, working (very hard) to make an A accurately, consistently, repeatedly. [Note: this video also made me so grateful to play the harp where we set and forget (sort of) our tuning. I’m delighted that the pitch part of the intonation is not part of the deal!]

By the end of the video, it was clear that the work on technique had helped to play better. But it was also clear that it was not music. It was carefully executed sound.

Because music isn’t just sound (yes, I know you already know that, but it bears repeating). It has been said that the music actually happens in between the notes.

What?!

Music is not just the notes. It is not just putting noise into the air. Music includes putting in the silences, the spaces in between. It also includes adding the breathing, the inflections, the dynamics, the pulse, the tempo. It includes all the shading, highlighting, and storytelling you can get in there!

Of course, you can see that your good technique will make it easier for you to do all those things. Technique is necessary but not sufficient to achieve making music. I’m sure you have all heard some people who play technically accurately but with no music. They achieve Technical Ecstasy (with apologies to Black Sabbath). They try to master the music, but instead the music (typically via the tyranny of the dots) has mastered them. In fact, when you see these performances or hear these recordings, you have no doubt that all the notes have been delivered – but you are left empty – hungry for and bereft of the feelings you get from a lesser (technically) performance delivered with heart.

So, I encourage you to continue to work on technique (of course) but also to devote practice time to breaking out and rendering music – not just notes. This is easiest if you record yourself to reveal what is coming out of you – and working on that too.

After all, technical ecstasy won’t give you music, but music may just lead to ecstasy, technically!

* I wish I could remember who that cellist is – I’d give credit if I could!

Boot Camp Week 3 – Five Weeks to Better

If you have been playing along at home, you have probably already started seeing differences in your practice and your playing. I hope this encourages you to keep at it. Consistency may be the most important practice element of all, and it is certainly one of the most underrated!

As before, you can focus on this week’s activities or you can add this on top of the previous weeks – whatever works well for you.*

Stretch – Bow, no, b-o-w! Because so many of us are dedicated (or foolish) we may sit at the harp for long stretches of time. Many do not realize how much work this can be for the hips, back, legs, and core. One soothing, relaxing stretch is to bow. You can do this from the bench or while standing. From the bench, sit away from the harp and with both feet flat on the floor and knees apart (wider than if you were playing), hands resting on your thighs, hinge forward from the hip with your back flat (this is easiest if you keep your head up). Move slowly and deliberately into the stretch. Keep your core strong.  Go as deeply into the stretch as you are able.  Breathe. Now, slowly lower your head, round your back and let your arms dangle. Breathe! You can stay here as long as you like (and as long as you continue to breathe). When you’re ready, s-l-o-w-l-y roll up to your starting position. If you prefer to stand, start with your feet shoulder width apart, weight balanced, knees soft, and hinge forward as above. Be sure to monitor and maintain your balance.

Technique – Ornaments. Sorry, this is not the fun of decorating but the work of adding ornaments to tunes. To practice ornamentation, you need control. To get light, accurate, beautiful ornaments – you must control your fingers and the strings to control the weight and length of the notes. As you know, ornaments are light, quick, and ahead of the beat. To get them light and quick, practice them. Today we are looking at cuts (you can, of course, extend this to other ornaments, but let’s focus here for now). This is a variation of the intervals you did in Boot Camp Week 1. Select your favorite key and scale and work your way, in intervals of a second, from root to octave and back again. Play the first note (the cut) just ahead of the beat with the second note occurring on the beat (because I’m sure you are counting, even if playing scales!). Be careful to work slowly and make the first note light and quick; the second will be heavier and have all the weight of a proper note. Quicklight/HEAVYFULL. When you have it in the right hand (where you are going to use it most) do it in the left hand.  While you might not ever make an ornament in the left hand, practicing that level of control will only serve you well. Once you have that down, move to different intervals (use the 3rd, the 4th, the 5th, etc.) and learn which ones you like best. If some are more challenging than others – well, now you know where you need to direct more work!

Practice Element – Dynamics. Since we’re already working on control – let’s extend that to dynamics. Being in control of the harp gives you a better firmament from which to build more musicality and presentation. Dynamics often get short shrift or just forgotten. Now this might be forgivable (m-i-g-h-t) in a set of dance tunes, it is unforgiveable in songs and airs or any classical music. The dynamics are one of the easiest things you can do to help you sell the story, so they are definitely an important part of playing. The point of injecting dynamics is to enhance the inflection of the tune. Dynamics don’t always have to be dramatic – even small changes really make an impact to your listeners. To start practicing dynamics, first think about the markings for crescendo/decrescendo – a very long arrow – that’s how you want to play. Let’s stick to a major scale and play it with those arrows – start very small and build the sound as you go up to the octave. Each note should be just noticeably louder than the note before. On the way down, do the opposite with each note just noticeably softer than the previous. This week there’s a twofer – after you’ve done those scales, follow it with a three-scale – place your fingers for the scale and play each note three times – p, mf, f (always with the same finger) up the octave and f, mf, p on the way back down. When you’ve mastered one hand, move on to the other, and then do both together – always careful to assure you have the volume you intended. Too easy? This time do the same scale but as you go up play f, mf, p (and when it’s too easy go to four fff, mf, mp, ppp) and come down at p, mf, f (or ppp, mp, mf, fff). Bored? Now play the scales with two hands – play the left hand p and the right hand f, then switch. Be careful but gentle – and do the work you need to do. Soon you’ll have the skill to be as dynamic and dramatic as you wish – for each tune – exactly as you mean to deliver it!

Hang in there – you’re more than half the way there and you’re building a solid practice habit!

*Remember that I’m not that kind of doctor, so please be careful, work within your own abilities (which isn’t to say don’t stretch yourself but also, don’t hurt yourself!). Be careful and only do what you can do. This blog pro­vides gen­eral infor­ma­tion about trying to stay health and other sub­jects related to playing the harp. All the con­tent pro­vided in this blog, and in any linked mate­ri­als, is not intended to be, and should not be con­strued to be, med­ical advice. If you have a med­ical con­cern, con­sult with an appropriately-licensed physi­cian or other health care worker. Never dis­re­gard pro­fes­sional med­ical advice or delay seek­ing it because of some­thing you have read on this blog or in any linked materials. If you think you may have a med­ical emer­gency, call your doc­tor or 911 immediately. The views expressed on this blog and web­site have no rela­tion to those of any academic, hospital, practice or other insti­tu­tion with which the author is affiliated. Don’t be thick – these are just suggestions – take care of you!

Boot Camp Week 2 – Five Weeks to Better

So, you made it through Bootcamp Week One! If you were able to insert this into your practice – good for you! And remember that you are doing it for you, so even if you only get in a couple of days – you’re making a better you!

This week, you can continue the stretch, technique and practice element you learned last week, you can do this week’s set, or you could add them together. It’s up to you! StretchCozy Corner.  Stand with both feet on the floor, weight balanced between them near an “outside corner” (the kind that point at you). You can also use a doorway. Keep yourself lifted, head up, back comfortable and straight, shoulders relaxed. With your arm out to your side, place your forearm on the wall. Slowly draw in a deep breath into your abdomen, hold for a moment and slowly lean into your corner, turn away, and let your breath out. Do this for a couple of breaths, and then do the other side. Be relaxed and be careful to be in control so you don’t hurt your shoulders. Do not stretch farther than your flexibility!*

TechniquePlacing. One challenging thing is to learn to land on strings that are already vibrating so as to stop them, but not too quickly! If you don’t stop the strings, you get horrible buzzes. But if you stop the strings too quickly you get noise. This week, to practice placing, we’re going to use chords. Start in your favorite major key and counting in 3. Wang off a really loud I chord on the 1 beat. Use the second beat to admire your handiwork (or to be slightly more successful, use the time to figure out your next move!). On the third beat, land back on that same chord – quietly, gently but firmly. Watch your fingering and use it for both the first and third beats. Play the chords you are comfortable with. Just beginning? Stick to I-III-V chords. More advanced? Do I-V-VIII chords. Really advanced – do something jazzy – but make sure the third beat is playing the same notes as the first! Work slowly and carefully to assure you’re actually stopping the strings like you mean to (don’t work on luck!). Once you’ve got the hang of it, work your way up the octave repeating the chords. Go slowly and carefully. No buzzing, no misses (errors), stay on the beat, make smooth transitions, and mind your hand and arm position and that your wrists are in a neutral position.  No tension!  Keep your shoulders down and your head up. Start with each hand and when these are good, go on to both hands. If this is too easy, you know the drill – place your hands and then close your eyes. Still too easy? Start with your eyes closed to find the start point. Again, do not accept a marginal effort – “good enough” isn’t. Do the work – for you. Not getting what you expect? Slow down more.  Go only as fast as you can do it correctly.  Do not rush. Remember to enjoy the sound, to feel the harp, and enjoy the experience! This can be difficult, so don’t sweat it if it takes a little practice – you will get there if you keep working on it!

Practice elementReading. This week practice reading. One of the great things about reading is that you can do it anywhere! And if you practice reading enough – when you’re not at the harp, you’ll still be able to “hear” the music in your head as you read. If you’re just learning to read – PLEASE BE KIND TO YOU! Think back to when you learned to read words (or think about a child you have witnessed struggling to learn to read). It was difficult – learning to tell one squiggle from another, and learning what each specific squiggle meant was hard. And you spent a lot of time learning to tell them apart and remembering what they meant – and sounded like. This is just like that! And, if you’ve had some time away from the paper, you might find that you’re a little rusty at reading – and need to “sound out” some of the squiggles. There are a number of ways to practice your reading. For this week, select music that is not familiar, but is at your level of proficiency. Sit at the harp and do-not-play! Rather, glance at the page and randomly select a squiggle.  Then play that squiggle on your harp. The point here is not to learn the piece but rather to practice identifying the squiggles and their meanings. If there are lever (or pedal) changes – touch the appropriate lever. If there’s a middle C indicated, touch the middle C. Don’t just pick the easy ones – if there are ledger lines and you’re not good at that, work on those. Spend time reading the music and identifying where the squiggles go. You can also play the note so you can learn what each squiggle sounds like. If possible, spend 15 minutes each day practicing your reading. With that slow steady approach, you will be able to read more accurately and more quickly. Use your timer to assure you only spend 15 minutes.  By squiggles, I’m sure you know that I mean notes, but also any of the other markings – accidentals, dynamics, key signatures, etc – you need to practice it all to get really smooth.

Keep at it again this week and you will see improvement. If you can practice both week’s activities, you’ll see that last week’s seem much easier this week! Just imagine what’ll happen next week!

*Remember that I’m not that kind of doctor, so please be careful, work within your own abilities (which isn’t to say don’t stretch yourself but also, don’t hurt yourself!). Be careful and only do what you can do. This blog pro­vides gen­eral infor­ma­tion about trying to stay health and other sub­jects related to playing the harp. All the con­tent pro­vided in this blog, and in any linked mate­ri­als, is not intended to be, and should not be con­strued to be, med­ical advice. If you have a med­ical con­cern, con­sult with an appropriately-licensed physi­cian or other health care worker. Never dis­re­gard pro­fes­sional med­ical advice or delay seek­ing it because of some­thing you have read on this blog or in any linked materials. If you think you may have a med­ical emer­gency, call your doc­tor or 911 immediately. The views expressed on this blog and web­site have no rela­tion to those of any academic, hospital, practice or other insti­tu­tion with which the author is affiliated. Don’t be thick – these are just suggestions – take care of you!

Practice Boot Camp – Five weeks to better!

May is the “gateway” month – the last month to prepare for all the summer harp fun you’ve been planning. Workshops, competitions, gatherings, schools – there are so many opportunities to meet new people, learn new music, have more fun. And there are also so many opportunities to hurt yourself – carrying your harp more than usual, straining your brain, working your fingers, arms, back and legs!

So let’s use this month to tune up for the long summer. By building a stronger practice over time, you’ll be able to make more progress in your practice time.  And because you’ll be stronger, you’ll be able to get more from all the events you’ll attend.  Each week we’ll add a new stretch, a technique, and a new practice element focus you can be ready to learn, laugh, and love your harp! Let’s get started*.

StretchBreathing.  Stand with both feet on the floor, weight balanced between them (you can also do this sitting with your weight evenly distributed). Keep yourself lifted, head up, back comfortable and straight, shoulders relaxed. Slowly draw in a deep breath into your abdomen, hold for a moment and then slowly let it out. Do this 5 times. Be relaxed and enjoy the deep breaths.

TechniqueIntervals. Be sure to watch your fingering. Progress, in your favorite key and scale through the second, the third, fourth, fifth, sixth, seventh, octave, ninth, tenth, and back down. Go slowly and carefully. No buzzing, no misses (errors), even pace, smooth transitions, and mind your hand and arm position and that your wrists are in a neutral position.  No tension!  Keep your shoulders down and your head up. Start with each hand and when these are good, go on to both hands. If this is too easy, place your hands and then close your eyes. Still too easy? Start with your eyes closed to find the start point. Do not accept “good enough” – this isn’t for your teacher, this is for you – do your best. Not getting what you expect? Slow down more.  Go only as fast as you can do it correctly.  Do not move faster than you can go accurately, do not rush. Enjoy the beauty of the tones, the feel of the harp against you, the experience of producing amazing sound. And don’t get upset if you can’t do it perfectly – remember – we’re practicing…and you’ll get better with practice!

Practice elementSitting. This week practice approaching the harp and sitting on the bench. Don’t just flop onto the stool! Lower yourself gently and in a controlled manner. No hands. Ensure that you’re sitting up straight and relaxed. Both feet flat on the floor, weight distributed across your hips. No twisted spine. No shoulders around your ears. No wrapping your feet around the legs of the bench. No rolling your hip forward. Now, stand. No hands. Sit and stand five times – slowly, controlled, relaxed. If you’re not able to do this five times, do as many as you can and work your way up. When you’ve done that, reach for the harp and pull it back like you’re just learning – straight toward your nose before pushing it off to your shoulder. Again check your posture. Set your timer for some random number of minutes and begin to play something you know fairly well. When the timer goes off, check your posture and make any needed corrections. Practicing your posture will allow it to become automatic so you don’t have to think about it when you’re playing!

Slow and steady wins the race as they say – if you don’t feel like you are doing well, keep at it for the week – you will see improvement. Next week, we’ll add another stretch, technique and practice element.  Leave a comment and let me know how you get on!

*Remember that I’m not that kind of doctor, so please be careful, work within your own abilities (which isn’t to say don’t stretch yourself but also, don’t hurt yourself!).  Be careful and only do what you can do.  This blog pro­vides gen­eral infor­ma­tion about trying to stay health and other sub­jects related to playing the harp.  All the con­tent pro­vided in this blog, and in any linked mate­ri­als, is not intended to be, and should not be con­strued to be, med­ical advice. If you have a med­ical con­cern, con­sult with an appropriately-licensed physi­cian or other health care worker.  Never dis­re­gard pro­fes­sional med­ical advice or delay seek­ing it because of some­thing you have read on this blog or in any linked materials. If you think you may have a med­ical emer­gency, call your doc­tor or 911 immediately.  The views expressed on this blog and web­site have no rela­tion to those of any academic, hospital, practice or other insti­tu­tion with which the author is affiliated.  Don’t be thick – these are just suggestions – take care of you!

Thumbs up to the end of the year

The year is winding to a close, so it’s a good time to take stock.  You may be playing a lot with the events of the holidays or you may still be working on material for your family get together or to impress your cats. It is also cold and dry which is tough on your hands. Meanwhile, there is just a lot going on and everyone is busy.

All of those things certainly don’t make playing any easier.  So it might be a good time to check in with the basics and see how you’re doing.

thumbs-up

Are your thumbs up? Are your fingers and hands relaxed?  Are you sitting up and breathing?  Do you keep up doing all the good techniques while actually playing?

You know good technique is important – making it possible for you to play better, longer, stronger.  But good technique requires awareness – and what better time than the present to give yourself the present of making sure you’re doing well?

Check in, and be sure to have your thumbs up as a strong end to the year!

Glide through the Gliss

One of the things that defines the music of the harp has got to be the glissando. Glisses are central to any showoff repertoire, and while they are easy to do, they are very difficult to do correctly! The only way to get good at glissandos is to do them, practicing them until they are perfect – but you already knew that.

First – what is a Gliss? Glissando comes from the French word Gliser – to slide* and when doing a gliss, you do, in fact slide up the strings.

Glissandos are tricky beasts – yes, they are dead easy to whip out but devilishly difficult to get right!

Glisses have a beginning, an end, and should have some specific characteristics including being even in tempo, include dynamics, beginning and ending on time and on the right notes, should be in the key denoted and should be effortless. No cheating with “stop fingers”!

Picture1

Glisses can go up or down. They are not used so much in traditional music but are present more in classical music. Glisses are also variable and may take many forms. But most of us more trad players who just want our listeners to be happy.  We are just looking to rip off a four octave drag up the strings and back down again in that crowd pleasing glissfest that seems to keep them coming back for more (and lets admit it – they are kind of fun!).

Going up, use your 2 or 3 finger with a gentle curve and draw up the harp – keep your elbow lifted like you’re drawing a bow. To go down, use your thumb and push your hand away from you. Not hard.

Except of course, the details are where the work lies. Breathe and count – don’t play longer or shorter than the gliss gets – you don’t want to shy the values or make an expansive ritardando where you didn’t really mean to. Follow any dynamic that might be needed to assure the gliss suits the tune and isn’t just a splash of noise! Start on the right first note and end on the correct last note. Practice smoothly moving along the strings,  not “stuttering” through the notes (especially that last one when you try to end in the right place!).

So, practice doing them correctly, so they are crisp and correct – playing the notes you meant to and no more and you’ll begin to enjoy playing glisses for fun

* http://dictionary.reference.com/browse/glissando?s=t